Laptop skins are a fantastic way to personalize your device, giving it a unique appearance while also protecting its exterior. Whether you purchase a design from a store or opt for customized stickers online, applying a laptop skin can be a bit tricky if you want to avoid air bubbles. This guide will walk you through the step-by-step process of applying a laptop skin smoothly, ensuring a flawless finish every time.
1. Why Use a Laptop Skin?
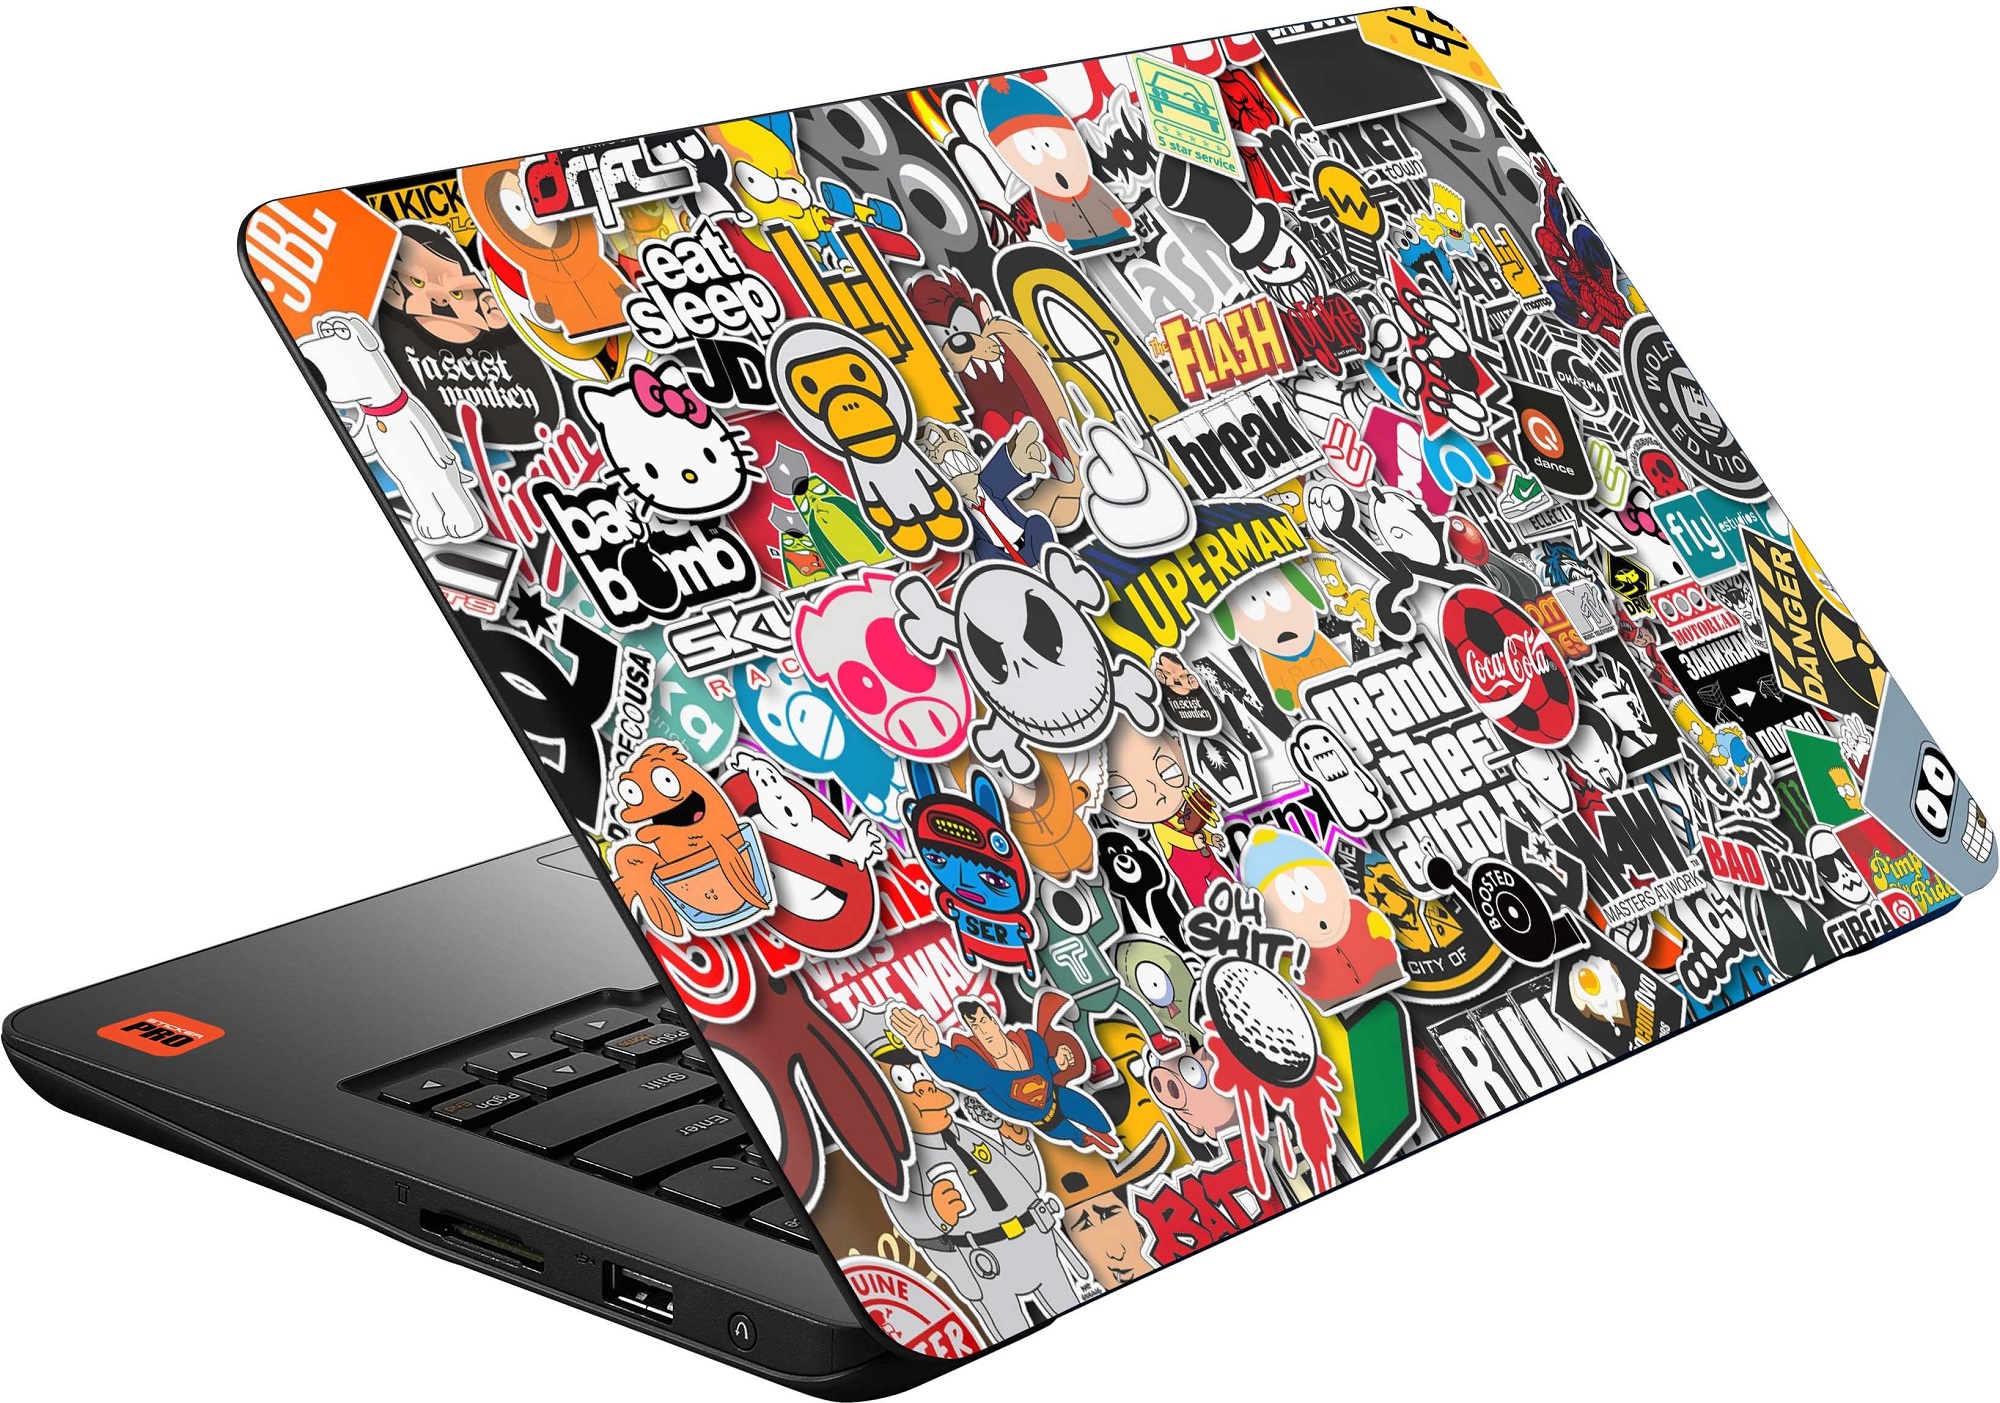
Before diving into the application process, it’s essential to understand why laptop skins are a worthwhile investment. A laptop skin not only enhances the aesthetic appeal of your device but also provides a layer of protection against scratches, dust, and minor spills. Moreover, with the option to create customized stickers online, you can reflect your personal style or brand identity, making your laptop a true extension of yourself.
Benefits of Using a Laptop Skin
- Personalization: Express your personality or brand through unique designs.
- Protection: Safeguard your laptop from daily wear and tear.
- Resale Value: Protecting the laptop’s exterior can help maintain its resale value.
- Non-Permanent: Laptop skins are easy to remove without leaving residue, allowing you to switch designs whenever you like.
2. Preparing Your Workspace
A clean and organized workspace is crucial for applying a laptop skin without air bubbles. Dust, debris, or an uneven surface can cause imperfections during application.
Gather Your Tools
Before you begin, ensure you have the following items ready:
- Laptop skin (or customized stickers online)
- A microfiber cloth
- A squeegee or credit card
- Rubbing alcohol or a cleaning solution
- A hairdryer (optional)
Clean the Laptop Surface
Start by thoroughly cleaning your laptop’s surface with a microfiber cloth and a small amount of rubbing alcohol. This will remove any dirt, oils, or dust particles that could interfere with the adhesion of the skin. A clean surface is essential to prevent air bubbles and ensure a smooth application.
3. Preparing the Laptop Skin
The next step is to prepare the laptop skin for application. If you’ve ordered customized stickers online, they may come in separate pieces for the top, bottom, and keyboard areas. Be sure to identify the correct piece for each part of your laptop.
Check the Fit
Before peeling off the backing, place the laptop skin over your device to ensure it fits properly. This will help you familiarize yourself with the placement and alignment, reducing the risk of errors during the actual application.
Warm the Skin (Optional)
If your laptop skin is thick or rigid, you can use a hairdryer to gently warm it up. This makes the skin more pliable, allowing it to conform to the curves and edges of your laptop more easily.
4. Applying the Laptop Skin
With your laptop and skin prepared, it’s time to start the application process. The key to avoiding air bubbles is to take your time and apply the skin slowly.
Step 1: Peel and Align
Begin by peeling back a small section of the backing paper from the laptop skin. Start at one edge, usually the top or side, and carefully align the skin with your laptop’s edge or any specific landmarks like the logo. Ensure that the exposed adhesive part is perfectly aligned before proceeding.
Step 2: Apply the Skin Gradually
Once aligned, press the exposed section of the skin onto the laptop, using your fingers to smooth it down. Slowly peel away the backing paper as you work your way across the surface, pressing down the skin in small sections. This gradual application helps prevent air from getting trapped underneath the skin.
Step 3: Smooth Out Air Bubbles
As you apply the skin, use a squeegee or a credit card to smooth out any air bubbles. Start from the center of the skin and push the air towards the edges. Applying firm but gentle pressure will help ensure a tight bond between the skin and your laptop.
Step 4: Apply to Curved Surfaces
If your laptop has curved surfaces, like rounded edges or corners, take extra care. Use the hairdryer to warm the skin slightly if necessary, making it more flexible. Apply the skin to these areas by gently stretching it, ensuring a snug fit without air bubbles.
Step 5: Final Touches
After applying the skin, give it a final pass with the squeegee to ensure there are no remaining air bubbles or wrinkles. Pay special attention to the edges, as they are more prone to lifting over time. If you notice any bubbles that couldn’t be pushed out, you can gently lift the skin in that area and reapply it, or use a pin to carefully puncture the bubble and press out the air.
5. Post-Application Care
Once the laptop skin is applied, it’s important to take care of it to ensure it remains in good condition.
Allow Time to Settle
Give the skin some time to fully adhere to your laptop. Avoid handling or using the laptop excessively for a few hours after application. This allows the adhesive to bond securely with the laptop surface.
Regular Cleaning
To keep your laptop skin looking fresh, regularly clean it with a dry microfiber cloth. If it gets particularly dirty, lightly dampen the cloth with water or a gentle cleaning solution. Avoid using harsh chemicals, as they can damage the skin or cause it to peel.
Monitor Edges
Over time, the edges of the skin may start to lift, especially with frequent use. If you notice this happening, use a bit of heat from a hairdryer and press the edges down firmly to re-adhere them.
6. Troubleshooting Common Issues
Even with careful application, you may encounter some issues. Here’s how to address them:
Air Bubbles
If air bubbles persist after application, don’t panic. Small bubbles can often be removed by gently lifting the skin and reapplying it. For larger bubbles, use a pin to make a tiny hole in the center of the bubble, then press out the air towards the edges.
Misalignment
If the skin is misaligned, carefully peel it back to the point where the misalignment starts and reapply. Most laptop skins, especially those from customized stickers online retailers, are durable enough to withstand minor adjustments during application.
Lifting Edges
If the edges start to lift, apply gentle heat with a hairdryer and press them down again. This usually happens when the skin isn’t fully adhered or if dust gets under the edges. Keeping the edges clean and using heat can help maintain a secure fit.
7. The Versatility of Customized Stickers Online
Ordering customized stickers online offers endless possibilities for personalizing your laptop. From intricate designs to simple, bold statements, you can find a sticker that fits your style perfectly. Customized stickers also make great gifts, allowing you to give something unique and personal.
Creating Your Own Design
Many online retailers allow you to upload your own designs, logos, or artwork to create a one-of-a-kind laptop skin. This is particularly useful for businesses looking to brand their company laptops or artists who want to showcase their work.
Choosing the Right Material
When ordering customized stickers, pay attention to the material options. Some skins are made from vinyl, which is durable and easy to apply, while others might be made from materials that offer additional protection or a different texture. Make sure to choose a material that meets your needs and is compatible with your laptop.
8. Conclusion
Applying a laptop skin without air bubbles requires patience, precision, and the right tools. By following the steps outlined in this guide, you can achieve a professional-looking finish that enhances the appearance and protection of your device. Whether you’re using a pre-made design or customized stickers online, taking the time to apply the skin correctly will result in a smooth, bubble-free surface that you can enjoy for years to come.
With regular care and a careful application process, your laptop skin will stay looking great and keep your device protected from the rigors of daily use. So go ahead, express yourself with a customized laptop skin, and enjoy a device that’s as unique as you are!